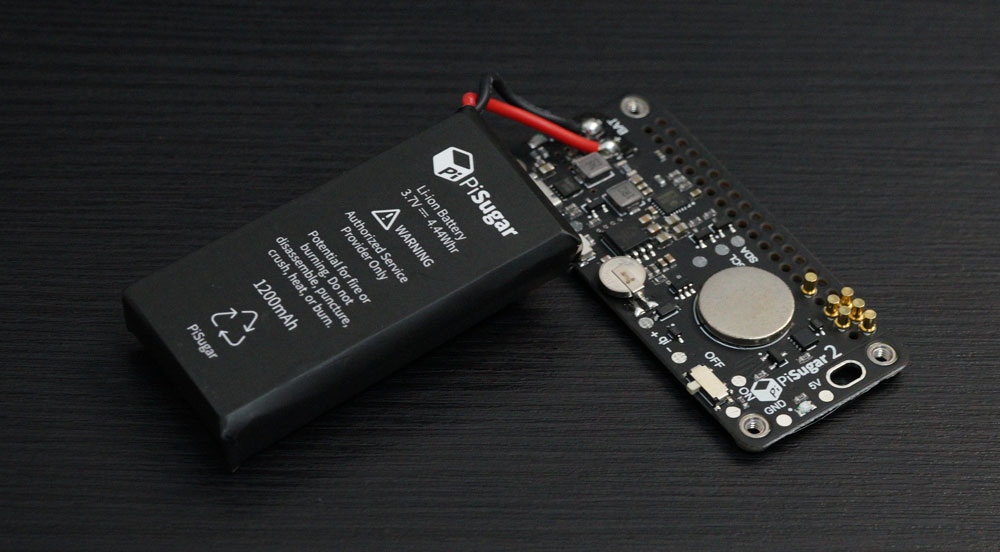
PiSugar2
PiSugar2 is a power platform designed for pi-zeros. Compatible with all RPI zero series, with/without GPIO headers.
Based on PiSugar1, we added UPS, RTC and I2C features on this version.
PiSugar2 use I2C address 0x75 and 0x32 to communicate with RPI.
Make sure you are not running any PHAT or other program occupying i2c address 0x75 and 0x32. Writing unexpected data into this two address will cause damage.
Hardware SPECS
- PowerIC: Injoince IP5209
- RTC: SD3078
- MicroUSB: charging port
- Physical Power Switch
- Programmable Tap Button
Electrical Specifications
| Electrical Specifications | PiSugar 3 |
|---|---|
| Input | 5V-3Amax |
| Output | 5V-2.5Amax |
| Battery capacity | 1200mah |
| Communication interface | 0x75/0x32 address |
| Size of PCB | 65mmX30mm |
Support Raspberry Pi Models
| Raspberry Pi Model | Support |
|---|---|
| Raspberry Pi Zero | Yes |
| Raspberry Pi Zero W | Yes |
| Raspberry Pi Zero 2 | Yes |
| Raspberry Pi Zero 2 W | Yes |
How To Mount
Mounting Steps
- Make sure the PiSugar2 is powered off (turn the power switch off).
- Remove the protective film on the screw nuts of the PiSugar2 board.
- Align the four screw nuts of the PiSugar2 board with the Raspberry Pi board (PiSugar board under the RPI), the pogo pins on PiSugar2 and the RPI's GPIO should be at the same side, and press the RPI board down gently.
- Use the provided screws to secure the PiSugar2 board to the Raspberry Pi board.
Software Installation
Run the following script on your pi:
wget https://cdn.pisugar.com/release/pisugar-power-manager.sh
bash pisugar-power-manager.sh -c release
Please select the PiSugar2 (2-LEDs) model when prompted.
PiSugar2 (4-LEDs) is a early version of PiSugar2, which is discontinued in 2021. If you are using this version, please select PiSugar2 (4-LEDs) model when prompted.
After finished, you can manage the battery by visiting http://<your raspberry ip>:8421 in your browser.

PiSugar Power Manager is develop in Rust and Vue2.0, with high performace (less than 2% pi0 cpu) and exquisite designed webUI.
Distinguish between PiSugar 2 (2-LED) and 4-LED models: https://github.com/PiSugar/PiSugar/wiki/PiSugar-Power-Manager-(Software)#support-model-list
User Guide can be found here.
API
With the software installed, you can also get battery data via udp/uds/websocket in your own way, for example:
echo "get battery" | nc -q 0 /tmp/pisugar-server.sock
echo "get battery" | nc -U -q 0 127.0.0.1 8423
For more details, please refer to: https://github.com/PiSugar/pisugar-power-manager-rs#unix-domain-socket--webscoket--tcp
Charging
Please use PiSugar's USB port for charging. If you use pi0's USB port it won't charge PiSugar, and PiSugar will turn off automatically since the external power is enough for pi0 to run.
You can get the charging status from webUI or api.
On 4-led version, the charging status is calculated by software, based on whether the battery level is increasing. So when it's 100% then you can't tell if it's connecting to external USB power.
Schedule Wake Up
If you use schedule wake up function, please keep the power switch ON. The battery will turn off as the pi shutdown. The RTC will wake up the battery and the pi at the time you set.
Customizing Power Switch
Customizing power switch feature will void the warranty. Please proceed with caution and ensure you understand the implications of modifying the power switch behavior.
If you need to connect your own external power switch, you must remove the original power switch and solder to the three pins of the original switch.

The three pins are: ON, CTRL, OFF.
- When ON and CTRL are shorted, the power is ON.
- When OFF and CTRL are shorted, the power is OFF.
3D Printed Case
We are developing 3D models based on the PiSugar1. Except the shell part, the other parts will remain the same will PiSugar1, as well as the phat lids.
Basic components (for zero): https://github.com/PiSugar/PiSugar/tree/master/model2
Other basic components (for zero): https://github.com/PiSugar/PiSugar/tree/master/model
Lids for piHats (for zero): https://github.com/PiSugar/pisugar-case-pihat-cap
Extensible
PiSugar2 has solder pads for developers to debug or add other functions.
- I2C pads: SDA and SCL, bridge to pi0's i2c-1
- 5V Input (Qi): for 5V wireless charging or solar charging
- 5V Output: other usages

Certificate
Please refer to: https://github.com/PiSugar/pisugar-documents