PiSugar3 Series
PiSugar3 is the third generation of PiSugar, making Raspberry Pi a portable device. With an standalone MCU, PiSugar3 supports more powerful features.
Hardware SPECS
- PowerIC: Standalone MCU
- RTC: DS3231, stimulated by MCU
- Type-C: charging port, with E-mark support
- MicroUSB: charging port (Only for PiSugar3 Plus)
- PH2.0 Battery Plug (Only for PiSugar3 Plus)
- Pluggable battery connector for user-selected 3.7V lithium battery (Only for PiSugar3 Air)
- Tap Power Button
- Programmable Tap Button
- Extension Interface: I2C interface, 5V output
Electrical Specifications
| Electrical Specifications | PiSugar 3 Plus | PiSugar 3 | PiSugar 3 Air |
|---|---|---|---|
| Input | 5V-3Amax | 5V-3Amax | 5V-3Amax |
| Output | 5V-3Amax | 5V-2.5Amax | 5V-2.5Amax |
| Battery capacity | 5000mah | 1200mah | User-selected 3.7V cell |
| Communication interface | 0x57/0x68 address | 0x57/0x68 address | 0x57/0x68 address |
| Size of PCB | 65mmX56mm | 65mmX30mm | 65mmX30mm |
Support Raspberry Pi Models
| Raspberry Pi Model | Support | Recommend PiSugar Version |
|---|---|---|
| Raspberry Pi Zero | Yes | PiSugar 3 / 3 Air |
| Raspberry Pi Zero W | Yes | PiSugar 3 / 3 Air |
| Raspberry Pi Zero 2 | Yes | PiSugar 3 / 3 Air |
| Raspberry Pi Zero 2 W | Yes | PiSugar 3 / 3 Air |
| Raspberry Pi 2 | Yes | PiSugar 3 Plus |
| Raspberry Pi 3A | Yes | PiSugar 3 Plus |
| Raspberry Pi 3B | Yes | PiSugar 3 Plus |
| Raspberry Pi 3B+ | Yes | PiSugar 3 Plus |
| Raspberry Pi 4B | Yes | PiSugar 3 Plus |
| Raspberry Pi 5 | Yes | PiSugar 3 Plus |
How To Mount
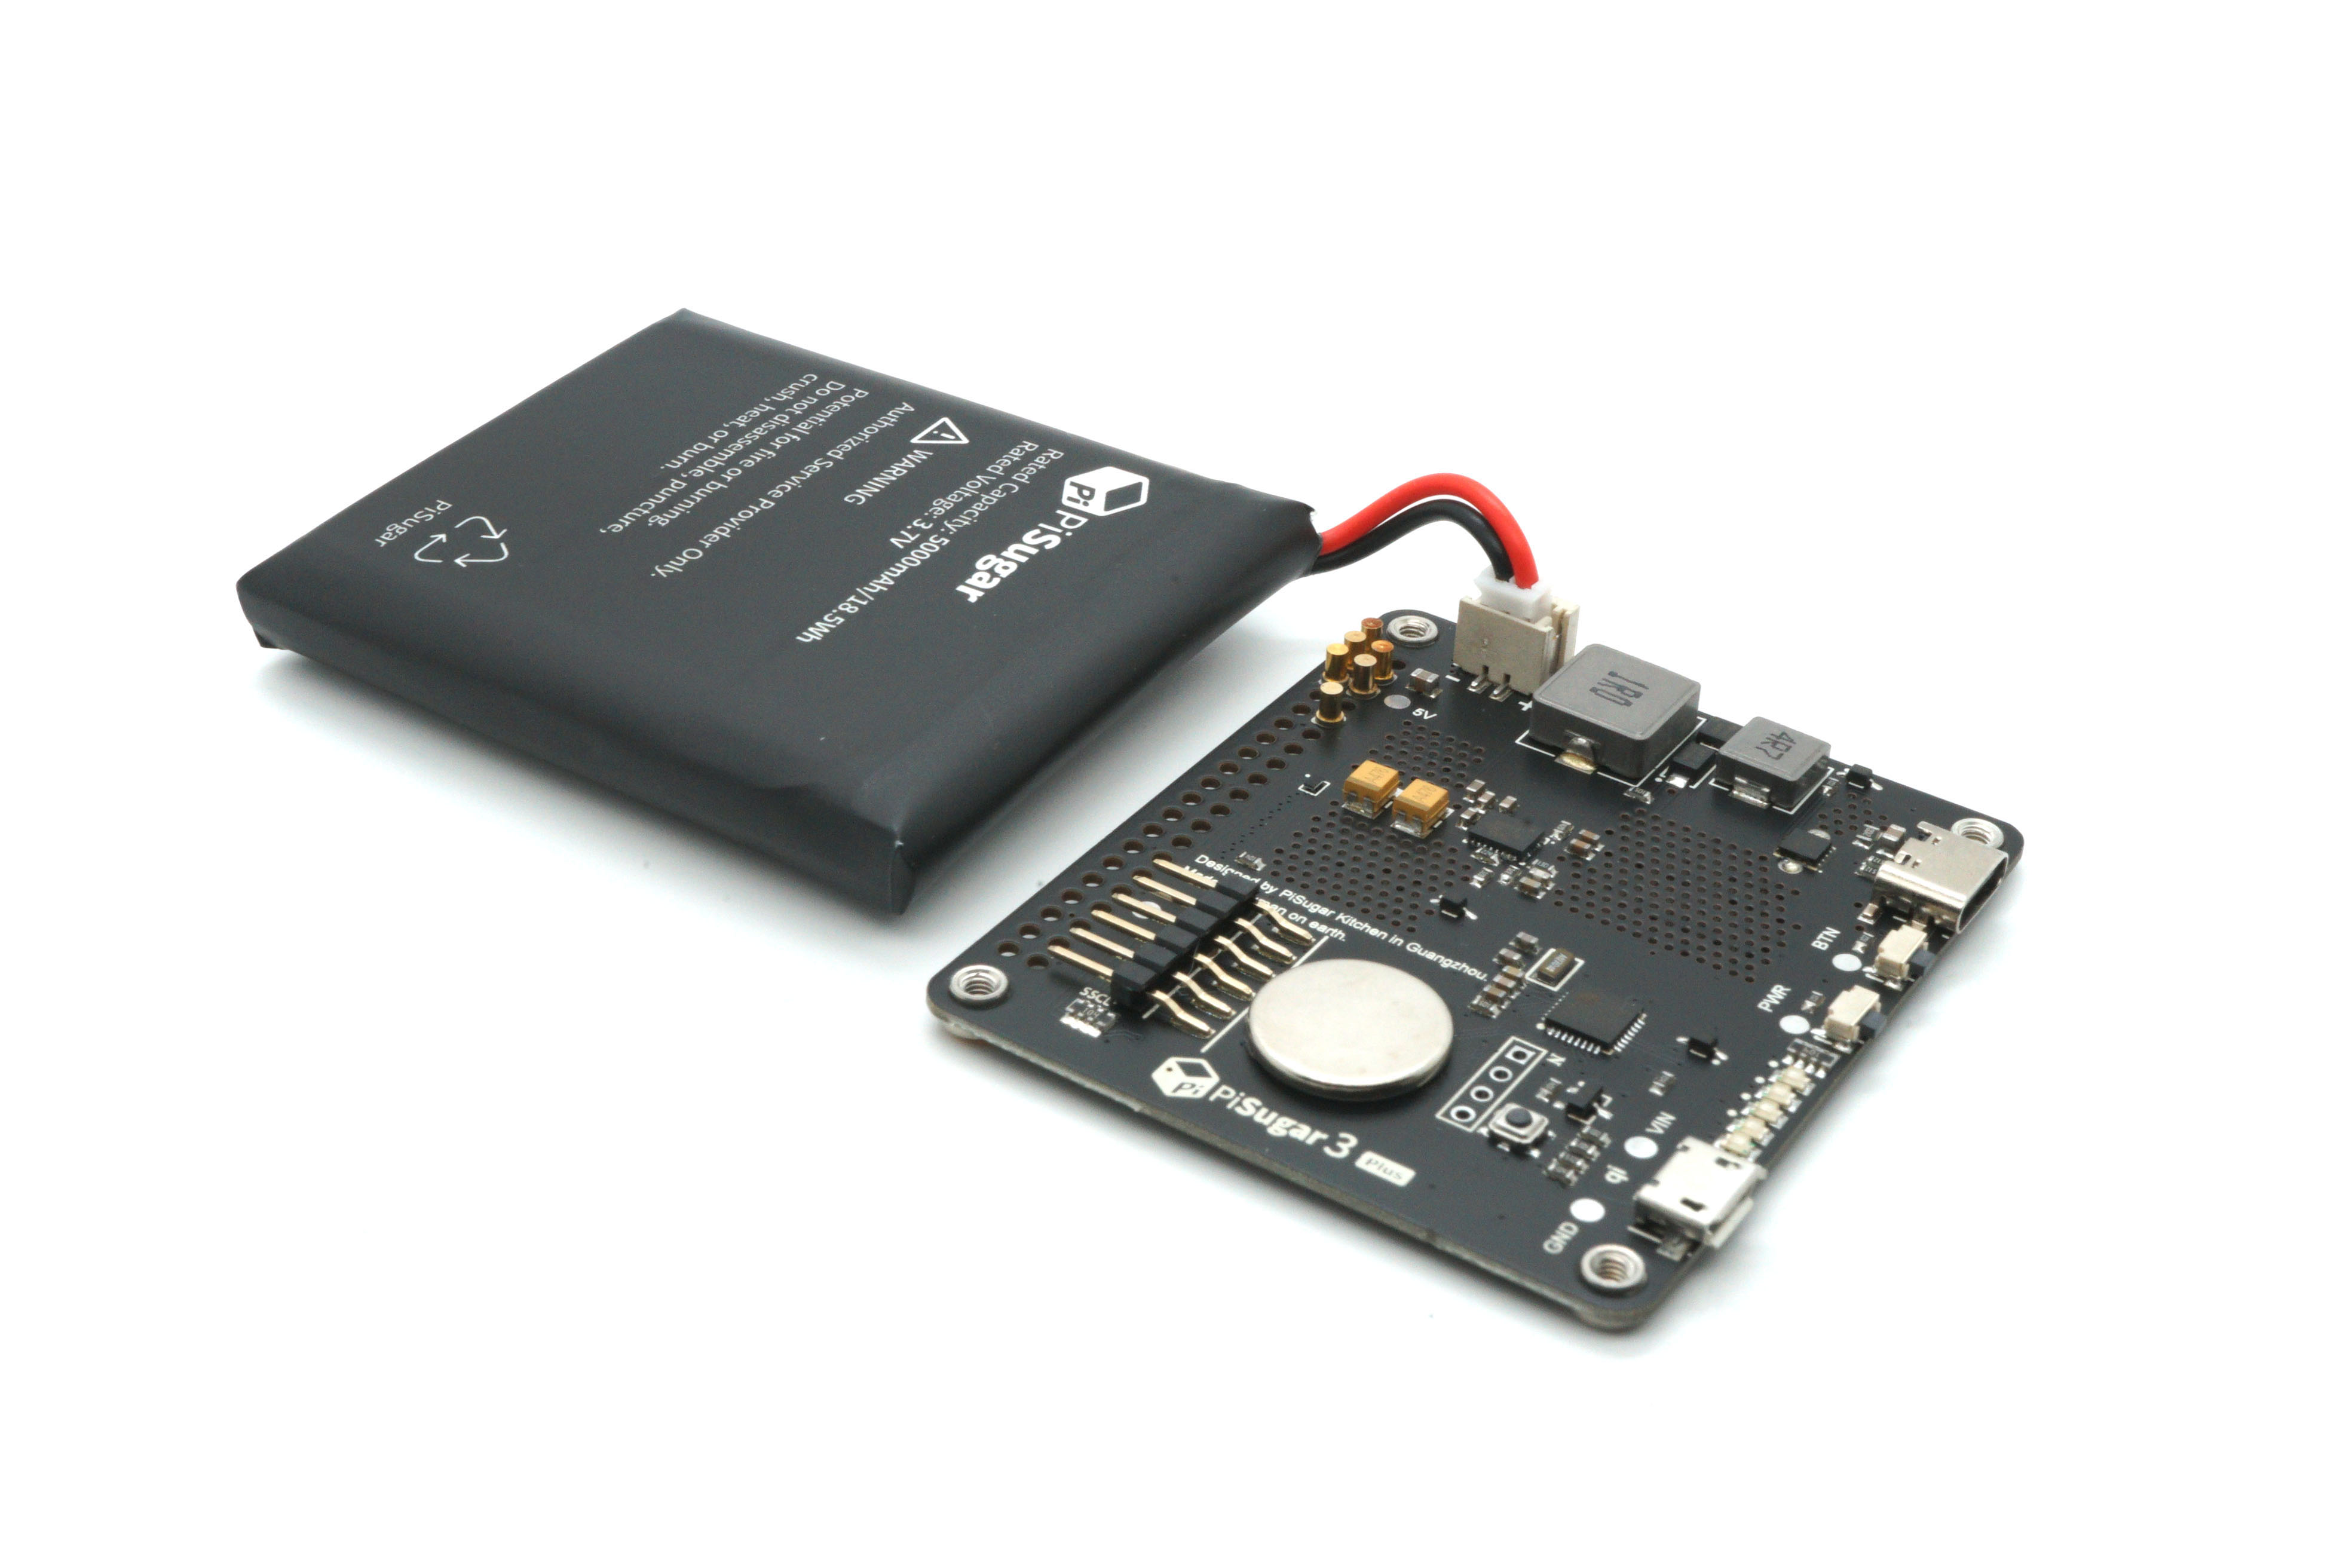
PiSugar3 Plus:
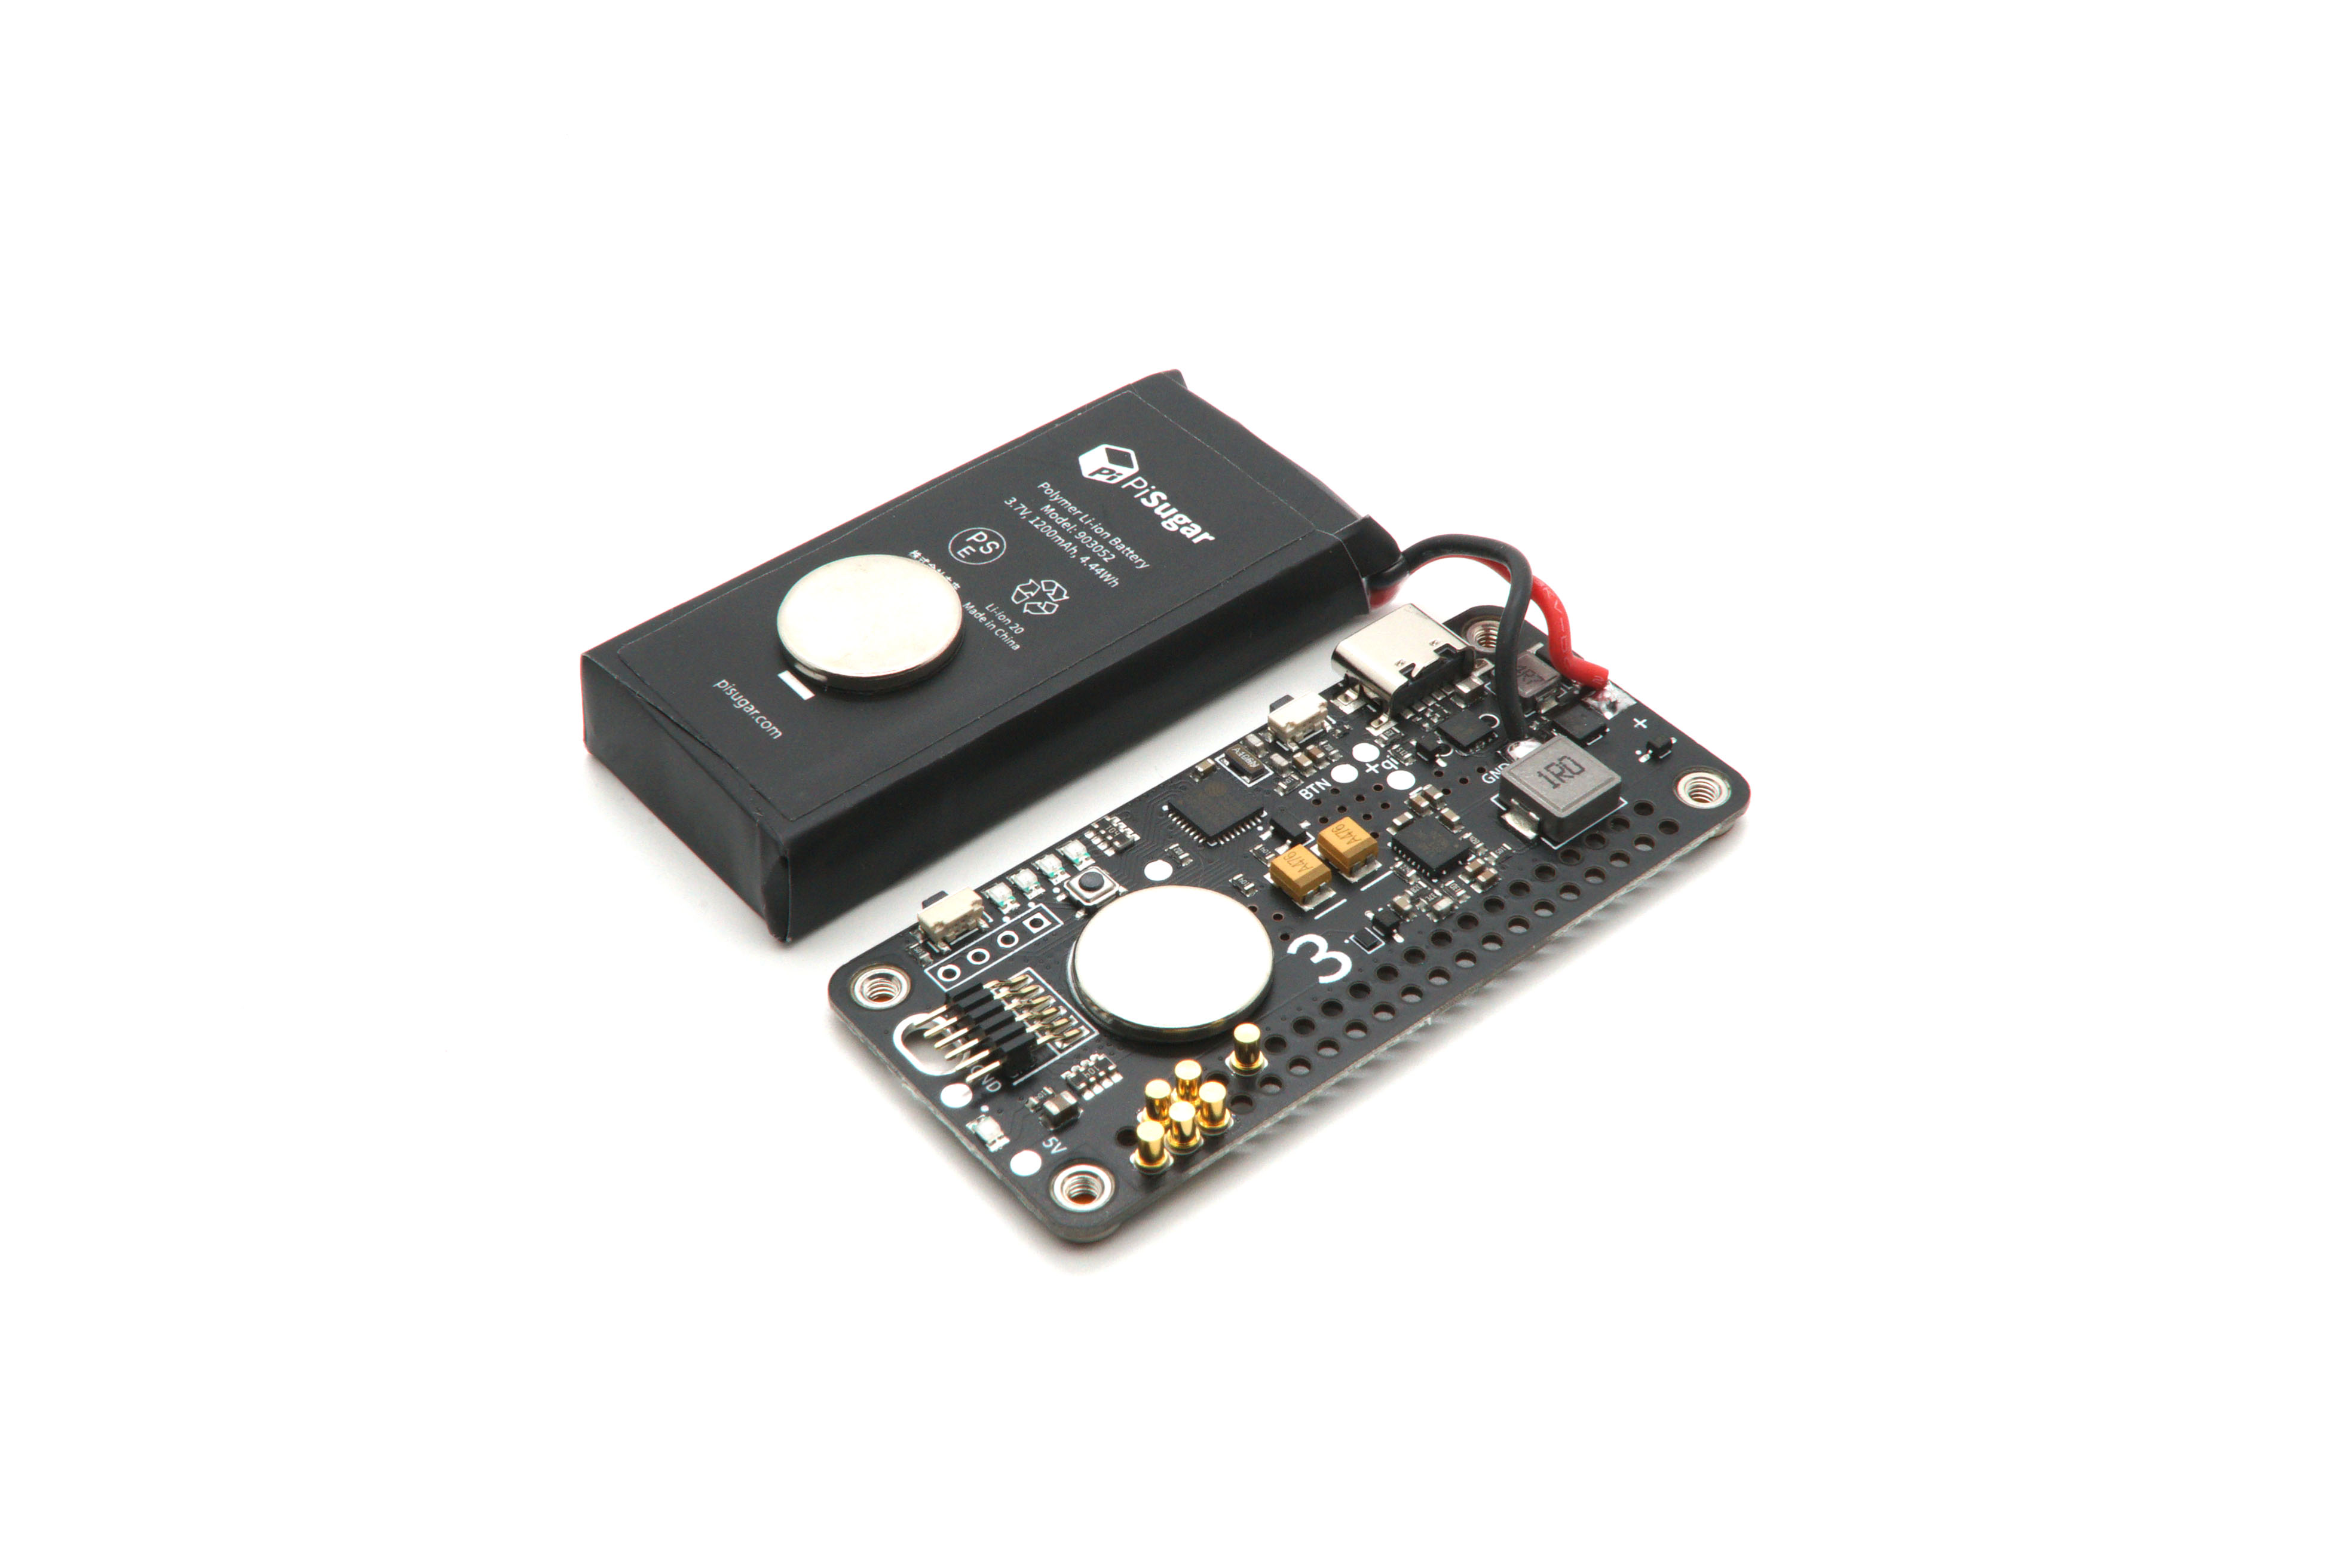
PiSugar3:
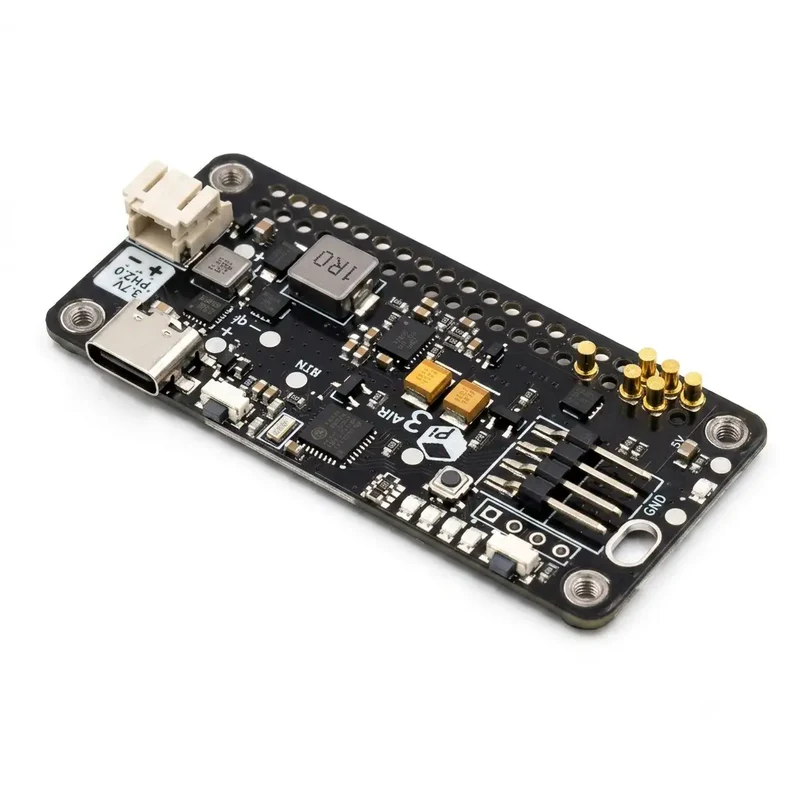
PiSugar3 Air uses the same mounting method as PiSugar3.
Mounting Steps
- Make sure the PiSugar3 (Plus/Air) is powered off.
- Remove the protective film on the screw nuts of the PiSugar3 (Plus/Air) board.
- Align the four screw nuts of the PiSugar3 (Plus/Air) board with the Raspberry Pi board (PiSugar board under the RPI), the pogo pins on PiSugar3 (Plus/Air) and the RPI's GPIO should be at the same side, and press the RPI board down gently.
- Use the provided screws to secure the PiSugar3 (Plus/Air) board to the Raspberry Pi board.
- For PiSugar3 Air, connect a single-cell 3.7V lithium battery to the battery connector, checking the polarity marks before powering on.
Power-On
The PiSugar 3 has the Anti-mistaken Touch feature enabled by default. (The feature switch is on the webUI, Advanced Settings -> Anti-Mistaken Touch Switch)
The default power-on method is to short press and then long press (Click & Hold), wait for the LEDs count from 1 to 4.
The default power-off method is to long press.
Software Installation
Run the following script on your pi:
wget https://cdn.pisugar.com/release/pisugar-power-manager.sh
bash pisugar-power-manager.sh -c release
Please select the PiSugar3 model when prompted.
PiSugar3 Air, PiSugar3, and PiSugar3 Plus should be selected as PiSugar3 during installation.
After finished, you can manage the battery by visiting http://<your raspberry ip>:8421 in your browser.

PiSugar Power Manager is develop in Rust and Vue2.0, with high performace (less than 2% pi0 cpu) and exquisite designed webUI.
User Guide can be found here.
Charging Notes
Battery voltage cannot be measured accurately while the battery is actively charging. To estimate the battery level more reliably, PiSugar 3, PiSugar 3 Air, and PiSugar 3 Plus briefly pause charging every 3 seconds, measure the battery voltage, and then continue charging.
PiSugar3 Air must be used with a single-cell 3.7V lithium battery only. Check the battery polarity marks on the board before connecting a battery. Reversed polarity, damaged batteries, or unsupported battery packs may damage the board or create a safety risk.
The charging chip can become very hot during charging. Do NOT touch the chip area on the PCB with your hand while charging.
At 2A charging current, the chip temperature may reach about 50-60°C. At 3A charging current, the peak chip temperature may reach up to 80°C.
Core Features
Full Functions UPS
PiSugar 3 has full UPS functions and can set up multiple awakening methods to meet various unique project needs.
PiSugar 3 keeps running/working when external power is connecting or disconnecting to avoid data loss. PiSugar 3 can infer whether the external power supply is powered, whether the external power supply is disconnected, and also the battery voltage status through the data interface. Users can determine if they need to actively shut down for data protection and can set the device to automatically turn on when the external power supply is restored. With the combination of the above functions, the device can keep running as long as possible on the premise of safety.
OTA Firmware Upgrade
PiSugar3 uses independent MCU control to achieve communication and functions. Only with a simple command, firmware upgrades can be achieved through Raspberry Pi, letting the device get the latest features.
You can use following command to update the firmware of PiSugar3 (lastest:1.4.0):
curl https://cdn.pisugar.com/release/PiSugarUpdate.sh | sudo bash
If the device doesn't enter flashing mode after running the script, you can try pressing the reset button located on the PiSugar3's PCB.
Hardware Battery Protection
PiSugar 3 provides hardware battery protection like never before, limiting battery voltage to nearly 80%. When charging protection is turned on, the battery cycles life can be improved.
I2C Control, Mutable Address
PiSugar 3 communicates with the Raspberry Pi through the I2C interface and is compatible with most I2C devices. In addition, the I2C communication address can be customized to avoid I2C address conflicts.
Software Watchdog
PiSugar 3 has a software watchdog function. When the function is turned on, the dog needs to be fed regularly, which can effectively prevent the Raspberry Pi from crashing and improve the reliability of the system.
Anti-Mistaken Touch Switch
Click and hold the power button to turn on/off. This feature can be turn off in software.
Other Features
Back contact, easy to install
PiSugar 3 continues to use the pogo pin design to connect with Raspberry Pi from the back. In this way, it does not occupy the GPIO and is compatible with other GPIO devices.
TypeC Charging Interface
Both the PiSugar 3 and PiSugar 3 Plus have TypeC charging port. PiSugar3 Plus has an alternative micro-USB charging port.
PiSugar3 Air has a Type-C charging port and a pluggable battery connector for a user-selected 3.7V lithium battery.
Onboard RTC
With the ultra-low power consumption design, the onboard RTC can keep the clock running for more than one year when PiSugar is off. Please note that the RTC will stop running if the battery is removed.
Soft Shutdown
Hardware events trigger software shutdown. You can set the shutdown script to execute when the power button is pressed. In this way, you can customize the shutdown process, such as saving data before shutdown.
Custom Button
PiSugar 3 has a custom button that can be used to trigger custom functions, such as starting a script or sending a signal to the Raspberry Pi.
WebUI and APP
PiSugar 3 has a webUI and APP to manage the battery, including battery status, charging status, and other information. You can also set the device parameters through the webUI or APP.
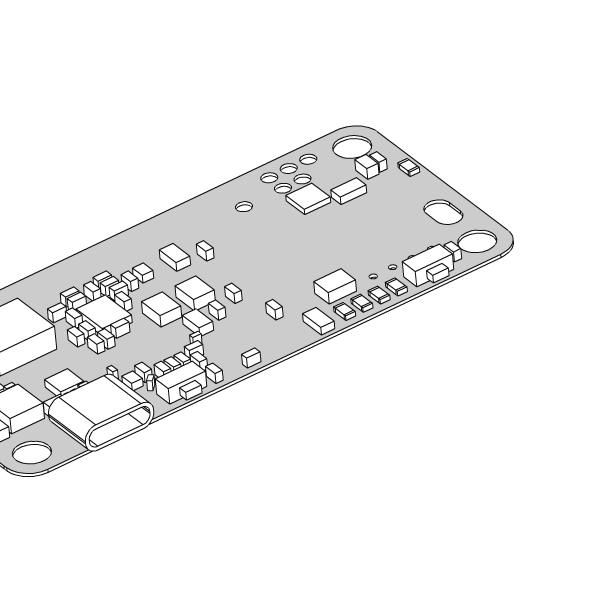
PCB instructions
PiSugar3
PiSugar3 PCB

PiSugar3 Plus PCB

| Position | Name | Description |
|---|---|---|
| 1 | GND | PiSugar's GND, 0V, all GNDs are connected, if connected to the Raspberry Pi, also directly to the Raspberry Pi's GND |
| 2 | BAT | Battery Positive, 3V-4,2V |
| 3 | USB Input | Input voltage 4.5V-5.2V |
| 4 | Custom function button | |
| 5 | Power button | |
| 6 | System reset button | Use when the hardware is in abnormal state, short press will reset PiSugar |
| 7 | Extension Interface | 5V Output, GND, MDAT/MSCL: I2C main interface, no function at this time. SDAT/SSCL: I2C slave interface, connected to Pi's I2C interface. PiSugar3 1.27mm Header (use JST 1.25mm connector). PiSugar3 Plus 2.54mm Header |
| 8 | 5V Input Pad | Connect to USB interface 5V input |
| 9 | Custom Button Pad | Trigger custom button function when connected to BAT(PAD:2) |
| 10 | Power Button Pad | Trigger power button function when connected to BAT(PAD:2) |
| 11 | 5V Output Pad | Connected to system 5V output, connected to Raspberry Pi 5V |
- Note: the small round button on the board is for reseting the hardware. It's not an activation button as that on PiSugar 2.
I2C Datasheet
For more details, please refer to PiSugar 3 I2C Datasheet.
3D Printed Case
Basic components (for zero): https://github.com/PiSugar/PiSugar/tree/master/model3
Basic components (for plus): https://github.com/PiSugar/PiSugar/tree/master/model_pro
Lids for piHats (for zero): https://github.com/PiSugar/pisugar-case-pihat-cap
RTC on board
All PiSugar 3 models have an RTC (stimulated by MCU), which can easily be used by hwclock. Please refer to PiSugar 3 RTC Guide for more details.
Certificate
Please refer to: https://github.com/PiSugar/pisugar-documents